In this article, we will delve into the art of baking a perfect loaf of bread at home. With precise techniques and attention to detail, we will guide you through the process, ensuring safety and success every step of the way.
From gathering the finest ingredients to shaping the loaf, we will provide you with a comprehensive outline of the necessary steps.
So, put on your apron and let's embark on this culinary journey together.
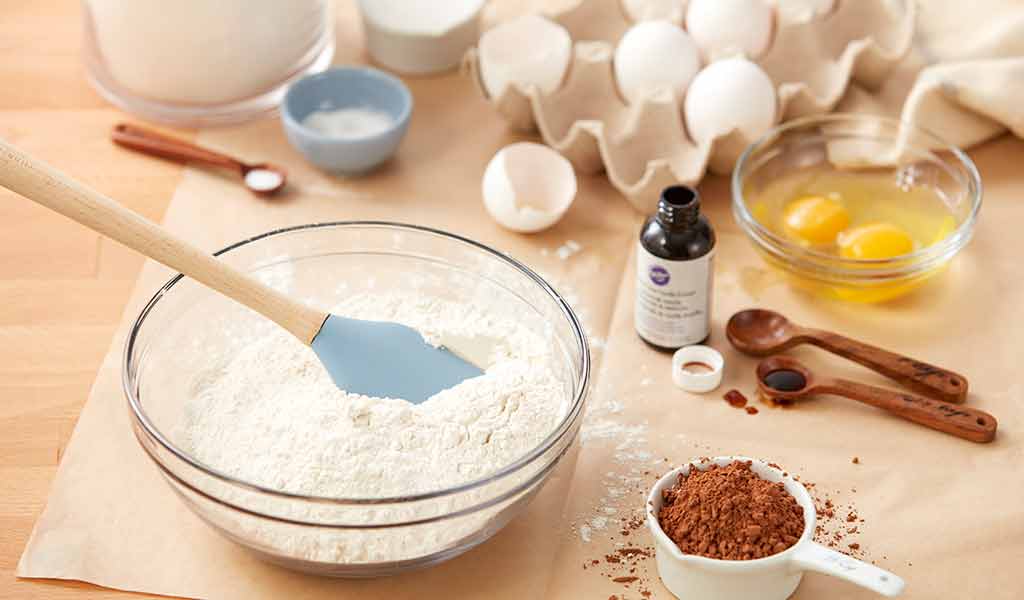
Gather Ingredients
To ensure a successful outcome, begin the bread baking process by gathering all the necessary ingredients.
Choosing the right flour is crucial for achieving the desired texture and flavor of your bread. Opt for high-quality bread flour, which contains a higher protein content and gluten strength, ensuring a better rise and structure.
Experimenting with different types of yeast can also yield varied results. Active dry yeast is the most common and widely available option, but instant yeast or fresh yeast can also be used. It is essential to follow the recipe's instructions and measure the yeast accurately to avoid under or over-fermentation.
When selecting yeast, consider the rising time you desire and the flavor profile you want to achieve. Paying attention to these details will help you achieve the perfect loaf of bread every time.

Mix Ingredients
After gathering all the necessary ingredients, it is time to mix them together to create the perfect dough for your homemade bread. The process of mixing ingredients is crucial in achieving the desired texture and structure of the bread.
Different types of bread require specific mixing techniques to ensure optimal results. For example, when making a rustic artisan bread, you will typically use a technique called autolyse, which involves mixing flour and water and allowing it to rest before adding other ingredients. This technique helps develop gluten and improves the bread's texture.
On the other hand, when making a soft sandwich bread, you would typically use the creaming method, where you beat the fat and sugar together before adding the dry ingredients.
Understanding the appropriate mixing techniques for different types of bread is essential in achieving a successful homemade loaf.
Knead the Dough
Once the ingredients have been mixed together, the next step in baking a perfect loaf of bread at home is to knead the dough. Kneading is a crucial process that develops the gluten in the dough, giving the bread its structure and texture. To ensure successful kneading, here are some different kneading techniques to consider:
- Traditional Kneading: Place the dough on a lightly floured surface and use the heel of your hand to push and stretch the dough away from you. Fold the dough over itself and repeat.
- Fold and Turn: Gently stretch the dough, fold it in half, and give it a quarter turn. Repeat this process several times, allowing the dough to rest in between.
- Stand Mixer: Attach the dough hook to your stand mixer and mix the dough on low speed for about 8-10 minutes until it becomes smooth and elastic.
- No-Knead Method: This technique involves minimal physical effort. Simply mix the ingredients, let the dough rest for an extended period, and allow the gluten to develop naturally.
When kneading the dough, it's important to avoid common mistakes such as over-kneading or under-kneading. Over-kneading can result in a dense loaf, while under-kneading may lead to a flat and uneven texture. Keep an eye on the dough's consistency and adjust the kneading time accordingly.
Let It Rise
After kneading the dough, the next step in baking a perfect loaf of bread at home is to allow it to rise. This crucial step, known as proofing, gives the yeast enough time to activate and create carbon dioxide gas, which causes the dough to rise and develop its light and airy texture.
The proofing time can vary depending on the recipe and ambient temperature, but it typically takes around 1-2 hours. During this time, it is important to cover the dough with a damp cloth or plastic wrap to prevent it from drying out. It is also crucial to keep the dough in a warm and draft-free environment to ensure optimal yeast activity.
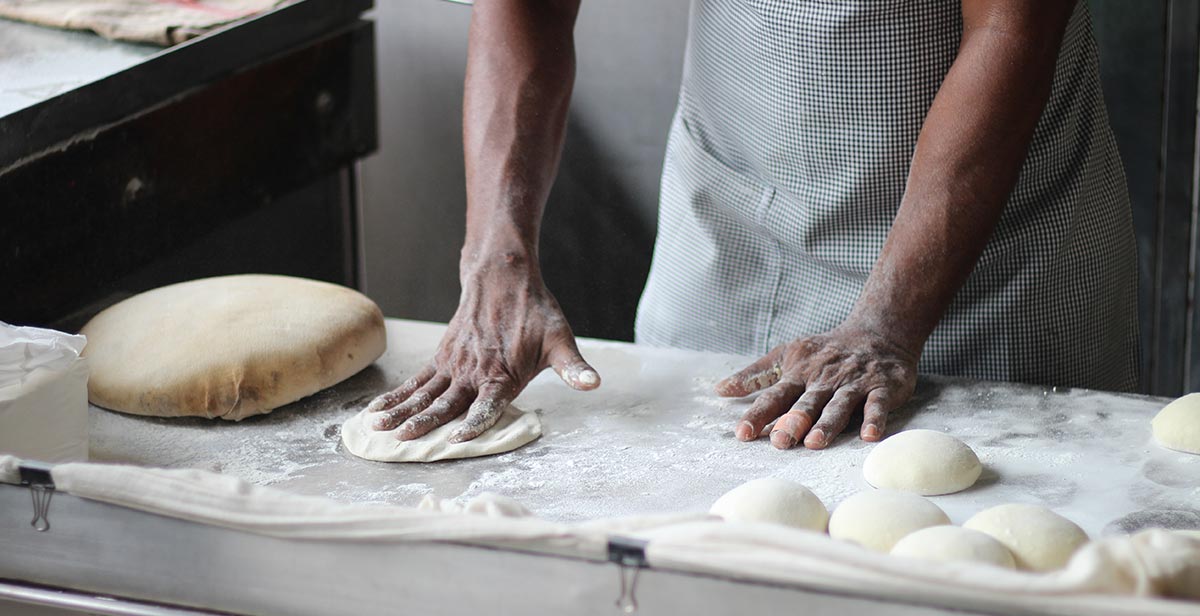
Shape the Loaf
To achieve the ideal texture and appearance of your homemade bread, the next step after allowing the dough to rise is shaping the loaf. Proper shaping ensures that the dough is evenly distributed, resulting in a well-formed and symmetrical loaf. Here are four different shaping techniques to consider:
- Folding: Gently stretch the dough and fold it onto itself, repeating this process several times to create tension and structure.
- Rolling: Flatten the dough into a rectangle and tightly roll it up, starting from one end. This technique is ideal for creating baguettes or sandwich loaves.
- Preshaping: Divide the dough into smaller portions and shape them into round balls. This step helps develop the dough's strength and structure.
- Final shaping: Take each portion of dough and shape it into the desired loaf shape. Pay attention to achieving a smooth surface and tight seal.
In addition to shaping, it is crucial to score the dough before baking. Scoring creates channels for the steam to escape during baking, preventing the bread from splitting or collapsing. Use a sharp knife or a bread lame to make shallow cuts on the surface, ensuring uniformity and control.
Frequently Asked Questions
How Do I Know When the Bread Is Fully Baked and Ready to Be Taken Out of the Oven?
Determining the appropriate time to remove bread from the oven is crucial in achieving a perfectly baked loaf. Factors such as internal temperature, crust color, and hollow sound when tapped should be considered to ensure optimal baking results.
Can I Use Alternative Flours, Such as Gluten-Free or Whole Wheat, Instead of All-Purpose Flour?
When considering alternative flour options such as gluten-free or whole wheat, it is important to weigh the benefits and drawbacks. Gluten-free flours lack elasticity and may require additional binding agents, while whole wheat flours add a nuttier flavor but can result in denser bread.
What Can I Do if My Bread Dough Is Too Sticky to Work With?
If bread dough becomes too sticky to work with, troubleshooting steps can be taken. These may include adjusting the flour-to-water ratio, adding more flour gradually, or using alternative flours like gluten-free or whole wheat.
How Can I Achieve a Crispy Crust on My Homemade Bread?
To achieve a crispy crust on homemade bread, several factors must be considered. These include proper hydration of the dough, using steam during baking, and ensuring the bread is fully baked before removing it from the oven.

Is It Necessary to Preheat the Oven Before Baking the Bread?
Preheating the oven before baking bread is essential for achieving optimal results. It ensures even heat distribution, promotes proper rising, and contributes to a crisp crust. While alternatives to preheating exist, they may compromise the quality and consistency of the final product.
 Family Craft ProjectsHome ImprovementCooking and BakingReuse and RecycleDIY GiftsEco-Friendly ProjectsDIY Home SolutionsSeasonal ActivitiesFun and GamesLearn TogetherPrivacy PolicyTerms And Conditions