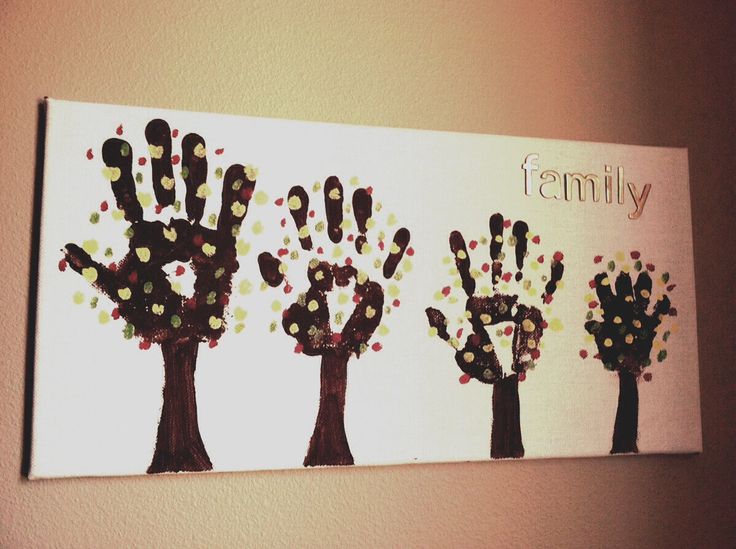
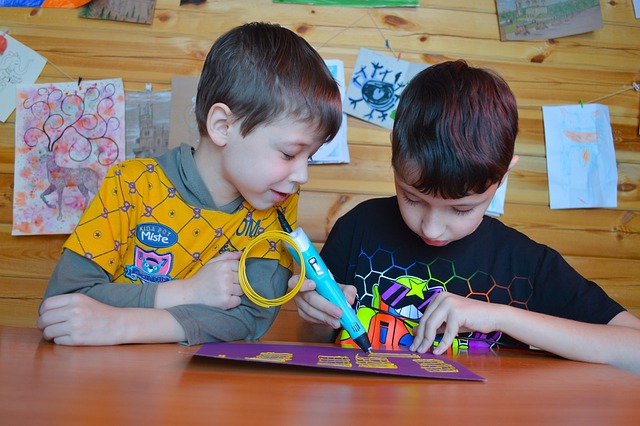
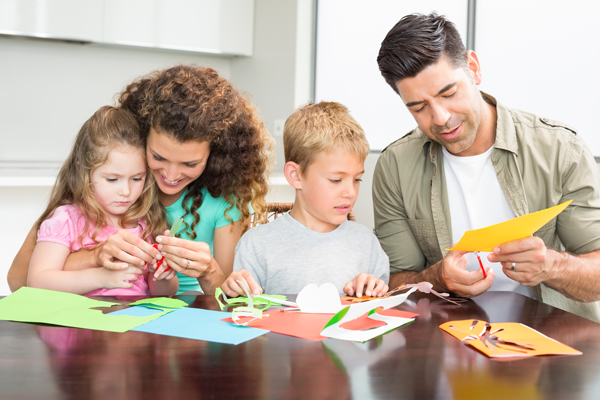
Discover the perfect way to bond with your family while unleashing your creativity with our top 10 indoor craft projects.
From DIY slime to homemade candles, these imaginative and step-by-step activities provide an opportunity for quality time and self-expression.
Whether you're looking to create a puppet theatre or a mesmerizing snow globe, our curated list offers a range of options that will engage and entertain the entire family.
Embrace the freedom to explore and create together, and let the fun begin.
DIY Slime
When engaging in the creative bonding activity of DIY slime making, families can enjoy a fun and educational experience together.
DIY slime has become a popular trend among kids and adults alike, offering endless possibilities for creativity and sensory exploration.
To start, gather the necessary ingredients such as glue, borax, water, and food coloring. Mix the glue and water together, then add the borax solution gradually until the slime reaches the desired consistency.
Experiment with different variations by adding glitter, beads, or even essential oils for a scented slime experience.
Once the slime is made, store it in airtight containers to prevent drying. DIY slime storage can be as simple as using resealable bags or small plastic containers.
With so many slime recipe variations and storage options, families can enjoy hours of entertainment and exploration.
Homemade Playdough
Continuing the exploration of creative bonding activities, another engaging project for families to enjoy together is making homemade playdough.
This classic activity provides endless possibilities for imaginative play and sensory exploration.
To begin, gather the following materials: 2 cups of all-purpose flour, 1 cup of salt, 2 tablespoons of cream of tartar, 2 tablespoons of vegetable oil, and 1.5 cups of boiling water.
In a large bowl, mix the dry ingredients together. Gradually add the oil and boiling water, stirring continuously until a dough forms. Knead the dough on a clean surface until it becomes smooth and pliable.
For material alternatives, consider using natural food dyes or adding scented extracts for a sensory twist.
The sensory benefits of homemade playdough include developing fine motor skills, strengthening hand muscles, and promoting creativity.
Let the fun begin!
Paper Mache Bowls
When it comes to creating paper mache bowls, there are two important aspects to consider: the materials and the technique.
First, gather all the necessary supplies, such as newspaper strips, glue mixture, and a bowl for shaping.
Once prepared, begin layering the strips onto the bowl, applying the glue mixture in between each layer.
The end result can be both decorative and functional, making it a versatile project for families to enjoy together.
Material and Technique
Paper mache bowls are a versatile and engaging craft project that can be enjoyed by the whole family. This activity allows for creative exploration and encourages the use of different materials and techniques.
Here are four steps to create your own unique paper mache bowls:
- Material Selection: Gather the necessary materials such as newspaper strips, a bowl for molding, flour, water, and a paintbrush.
- Mixing the Paste: In a bowl, mix equal parts flour and water until you achieve a smooth, glue-like consistency.
- Layering: Dip the newspaper strips into the paste, making sure they are fully coated. Start layering the strips onto the bowl, overlapping them to create a sturdy structure. Repeat this process until the bowl is completely covered.
- Drying and Decorating: Allow the paper mache bowl to dry completely. Once dry, you can paint it with vibrant colors or add decorative elements like glitter, beads, or ribbons.
Get your creative juices flowing and enjoy the process of making your own paper mache bowls with your family!
Decorative or Functional?
With paper mache bowls, families can create unique and versatile crafts that serve both decorative and functional purposes. Paper mache is a technique that involves layering strips of paper with adhesive to create sturdy and lightweight objects.
When it comes to paper mache bowls, there is a choice to be made between creating purely decorative pieces or practical ones that can be used for everyday purposes.
For those seeking decorative options, paper mache bowls offer endless possibilities. They can be adorned with vibrant colors, intricate patterns, or even textured surfaces. These bowls can serve as eye-catching centerpieces or as decorative accents in any room.
On the other hand, practical paper mache bowls can be used for holding keys, jewelry, or other small items. They can be customized to fit any size or shape needed, providing a functional solution to organizing and tidying up spaces.
In terms of pros and cons, decorative paper mache bowls allow for artistic expression and can be a fun way to add personality to a space. However, they may not be as durable as their practical counterparts since they are not intended for heavy use.
Practical paper mache bowls, on the other hand, are sturdy and can withstand everyday wear and tear. However, they may lack the visual appeal and artistic flair that decorative bowls offer.
Whether you choose to create decorative or practical paper mache bowls, the joy of this craft lies in the freedom to experiment and create something unique. By considering the pros and cons of each option, families can decide which type of paper mache bowl best suits their needs and desires.
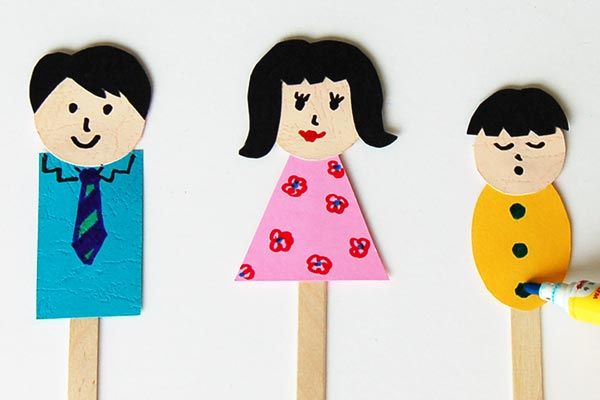
DIY Puppet Theatre
Creating a DIY puppet theatre not only provides a fun and creative activity for the whole family, but it also brings back cherished memories of puppet shows from the past.
This craft project allows children and adults to explore their imagination and storytelling skills, as they come up with their own unique puppet characters and create engaging performances.
Puppet Show Memories
One of the most engaging and interactive indoor family craft projects to create lasting memories is building a DIY puppet theatre. Not only does it allow for creative expression and imagination, but it also provides an opportunity for children and parents to work together as a team.
Here are four steps to help you create your own puppet theatre and relive the joy of puppet show memories:
- Design and construct the stage: Use cardboard, fabric, and paint to create a sturdy and visually appealing backdrop for your puppet show.
- Make puppets: Explore various puppet making techniques such as sock puppets, paper bag puppets, or even finger puppets. Let your creativity run wild!
- Create puppet show props: Gather materials like felt, craft sticks, and googly eyes to make props that will enhance your puppet show and bring the story to life.
- Rehearse and perform: Write a script or adapt a favorite story. Practice the puppet show together and enjoy the magic of performing for an audience, whether it's just your family or a larger gathering.
With a DIY puppet theatre, the possibilities are endless, and the memories created will be cherished for years to come. So gather your materials, let your imagination soar, and have fun creating your very own puppet show!
Crafty Storytelling Fun
Crafty storytelling fun comes to life with a DIY puppet theatre, allowing families to continue their engaging and interactive indoor craft project.
Here's a step-by-step guide to creating your own puppet theatre:
- Materials needed: a large cardboard box, craft paper, scissors, glue, colored markers, and craft sticks.
- Start by cutting out a rectangular opening on the front side of the box to serve as the stage.
- Decorate the box using craft paper and markers. Let your imagination run wild!
- Create puppets using craft paper, drawing and coloring characters.
- Attach craft sticks to the back of the puppets, allowing for easy manipulation.
- Set up your puppet theatre by placing the box on a table or propping it up with books.
- Gather your family and use crafty storytelling techniques to create interactive storytelling ideas.
- Encourage everyone to participate by taking turns controlling the puppets and narrating the story.
- Enjoy the magic of bringing stories to life through the power of imagination and creativity.
Homemade Candles
- For a memorable and engaging family activity, consider making your own homemade candles. Candle making is not only a fun and creative project but also a great opportunity to bond with your loved ones.
To get started, here are some steps to follow:
- Material Sourcing: Gather all the necessary materials, including wax, wicks, fragrance oils, and containers. You can easily find these supplies at your local craft store or order them online.
- Candle Making Techniques: Melt the wax using a double boiler or microwave. Add your chosen fragrance oil and stir well. Carefully pour the melted wax into the containers, making sure to insert the wicks at the center. Allow the candles to cool and solidify for a few hours.
- Decorating: Once the candles have hardened, you can get creative with decorating them. Consider adding colored wax, glitter, or even dried flowers to make each candle unique.
- Enjoying the Results: Finally, light up your homemade candles and enjoy the warm and soothing ambiance they create in your home.
DIY Bath Bombs
For a unique and relaxing family activity, delve into the world of DIY bath bombs using simple ingredients and creativity.
Making your own bath bombs is not only fun but also allows you to customize them with your favorite scents and colors.
To start, gather the necessary ingredients: baking soda, citric acid, cornstarch, Epsom salt, essential oils, and food coloring.
In a mixing bowl, combine 1 cup of baking soda, 1/2 cup of citric acid, 1/2 cup of cornstarch, and 1/2 cup of Epsom salt.
Mix well and add a few drops of your chosen essential oil and food coloring.
Using a spray bottle, lightly spritz the mixture with water until it holds together when squeezed.
Press the mixture into molds, let them dry overnight, and then gently remove the bath bombs.
Voila! You have your very own homemade bath bombs ready for a relaxing soak in the tub.
Enjoy the fizz, aroma, and vibrant colors as you unwind.
Homemade Bookmarks
How can you create personalized bookmarks for your family to enjoy together? Making homemade bookmarks is a fun and easy craft project that allows you to unleash your creativity while also encouraging reading and bonding time. Here are four material options and techniques for beginners to get started:
- Cardstock:
Cut rectangular pieces of cardstock in various sizes and decorate them with markers, stamps, or stickers. Add a ribbon or tassel to the top for an extra touch.
- Fabric scraps:
Cut fabric scraps into bookmark-sized rectangles and sew them together, leaving a small opening to insert a piece of cardboard for stability. Embellish with buttons, beads, or embroidery.
- Washi tape:
Choose a plain bookmark and cover it entirely with colorful and patterned washi tape. Trim the edges for a neat finish.
- Popsicle sticks:
Decorate popsicle sticks with paint, markers, or washi tape. Glue multiple sticks together to create a layered effect. Add a ribbon or string to one end.
These techniques and material options provide endless possibilities for creating unique and personalized bookmarks that your family will love.
DIY Dream Catchers
Dream catchers have long been associated with Native American culture and are believed to trap bad dreams while allowing good dreams to pass through.
In this discussion, we will explore the symbolism behind dream catchers and how to create unique variations of these beautiful crafts.
From choosing the perfect materials to incorporating personal touches, we will guide you step-by-step in making your own DIY dream catchers that are sure to bring a sense of peace and tranquility to your home.
Dream Catcher Symbolism
DIY dream catchers offer families an opportunity to explore the rich symbolism behind this ancient craft. Dream catchers have a fascinating history rooted in Native American culture and are believed to capture bad dreams and protect the dreamer from negative energies.
Here are four key aspects of dream catcher symbolism that you can discuss and incorporate into your DIY project:
- Circle: The circular shape represents the cycle of life and the interconnectedness of all living beings.
- Web: The intricate web woven within the circle symbolizes the spider's web of life and the interconnectedness of all things.
- Feathers: Feathers are often used in dream catchers to represent the air and the breath of life. They also symbolize freedom and spiritual enlightenment.
- Beads: Beads are often incorporated into dream catchers to represent the different elements of nature and the journey of life.
Unique DIY Variations
There are several unique variations of DIY dream catchers that offer families an opportunity to explore their creativity and bonding.
One fun idea is to create DIY dream catcher jewelry. Start by gathering a small metal hoop, colorful yarn or string, and some beads or charms. Begin by wrapping the yarn tightly around the hoop, leaving a small loop at the top for hanging. Then, thread beads or charms onto the yarn as desired.
Another creative twist on DIY dream catchers is to use recycled materials. Instead of a traditional hoop, use an old embroidery hoop or a recycled bicycle wheel. Instead of yarn, use strips of fabric or even recycled paper. This not only adds an eco-friendly touch to the project but also encourages children to think creatively about repurposing materials.
Homemade Snow Globe
Craft your own enchanting homemade snow globe using simple materials and step-by-step instructions. This delightful project is perfect for the whole family to enjoy and allows for endless creativity.
Here's a step-by-step guide to help you create your own magical snow globe:
- Material selection:
- Find a glass jar with a lid, ensuring it is clean and dry.
- Choose a small figurine or object to be the centerpiece of your snow globe.
- Gather glitter, glycerin, distilled water, and waterproof adhesive.
- Step-by-step instructions:
- Attach the chosen figurine to the inside of the lid using waterproof adhesive.
- Fill the jar with distilled water, leaving some room at the top.
- Add a pinch of glitter and a few drops of glycerin to the water for the snow effect.
- Carefully seal the jar with the lid, ensuring it is tightly closed.
Now, shake your homemade snow globe and watch as the glittery snowflakes cascade around your chosen object, creating a mesmerizing winter wonderland right at home!
DIY Terrarium
Creating a terrarium is a fun and engaging indoor activity for the whole family, allowing you to build a miniature garden within a glass container.
To start, gather your materials: a glass container, rocks or pebbles for drainage, activated charcoal to keep the terrarium fresh, potting soil, and a variety of small plants.

Begin by layering the rocks at the bottom of the container, followed by a thin layer of activated charcoal. Next, add a layer of potting soil, making sure it is deep enough for the plants' roots.
Now comes the fun part - arranging the plants! Choose a mix of different colors, sizes, and textures to create an eye-catching display. Remember to consider the specific care needs of each plant and place them accordingly.
Finally, give your terrarium a light mist of water and place it in a well-lit area away from direct sunlight.
Enjoy watching your miniature garden grow and thrive!
Frequently Asked Questions
What Are Some Alternative Materials That Can Be Used to Make DIY Slime?
Alternative materials for slime include cornstarch, laundry detergent, and clear glue. When making homemade slime, it is important to take precautions such as using gloves, working in a well-ventilated area, and avoiding contact with eyes or ingestion.
Are There Any Safety Concerns or Precautions to Keep in Mind When Making Homemade Candles?
When making homemade candles, it is important to take safety precautions to prevent accidents. Some tips for handling hot wax include using a double boiler, wearing protective gloves, and keeping a fire extinguisher nearby.
How Do You Properly Store and Preserve Homemade Bath Bombs?
Proper storage and preservation of homemade bath bombs is essential for maximizing their longevity. To make bath bombs last longer, store them in an airtight container in a cool, dry place away from moisture and direct sunlight.
What Are Some Creative Variations or Designs That Can Be Added to DIY Dream Catchers?
When it comes to creating DIY dream catchers, there are countless creative variations and unique designs that can be added. From using different materials to experimenting with colors and patterns, the possibilities for personalizing dream catchers are endless.
Can You Recommend Any Specific Plants or Miniatures to Use When Creating a DIY Terrarium?
When creating a DIY terrarium, it is essential to choose the right plants and miniatures. For terrarium plant recommendations, opt for low-maintenance options like succulents or ferns. Miniature suggestions include tiny figurines, fairy garden accessories, or small rocks and pebbles for added visual appeal.
 Family Craft ProjectsHome ImprovementCooking and BakingReuse and RecycleDIY GiftsEco-Friendly ProjectsDIY Home SolutionsSeasonal ActivitiesFun and GamesLearn TogetherPrivacy PolicyTerms And Conditions